HANDBUILDING: methods
- Johannes Scott
- May 15, 2020
- 3 min read
Pinching:
Hollow out a cavity in a small ball of clay using the right (if right-handed) thumb, while slowly rotating the ball in the cup of other hand. Gently squeeze the wall thinner at regular intervals while continuing the rotating, spiral movement in the cup of the left hand. The thumb and fingers pinching the clay thinner until an even wall with a thickness of about two centimetres is reached.
Start the same process again, from the bottom up, but slower and with more even precision. The thickness of the lower part of the wall must now be pinched to its final thickness of about six millimetres. The bowl must now remain in the cup of the hand because the bottom wall would no longer be able to support the top-heavy shape if placed down on its foot. The shape would distort under its own weight.
Holding the shape in the left hand, spiralling the squeezing and pinching movement upwards by right-hand thumb and fingers, the shape with even wall thickness could be completed in fifteen minutes. One must work against time because the warmth of the hands dries the clay and reaching the top rim, the lip will split due to the loss of plasticity.
In order to complete the shape with a thin neck, the top rim can be manipulated around a brush handle and squeezed upwards to create a delicate, elongated lip. Once airtight, the vacuumed bowl can be tapped into shape and securely placed on its foot without fear of collapsing.
Moulds:
Since Neolithic time, people have used baskets as moulds for making larger pots within ease of time. Clay is smeared and pressed on the interior wall of the basket, from bottom up. Once completed, the moulded shape can dry inside the basket. Once dry, the clay shape can be lifted out of the firm basket – it is important that the basket shape has no undercuts trapping the shape from release. Alternatively, if the basket is delicate, it can be fired with the clay inside, burning away and leaving a woven pattern impressed on the pot as decoration.
Coils:
A tabletop with a porous surface is needed for rolling ropes of clay. These are coiled on a slab of clay, the base, one at a time, completing a circumference. Each coil is pressed down on the previous, slightly overlapping the previous coil. The overlapping sides smeared down for cohesion to the previous coil. After each coil, a layer of slip should be applied by brush for better cohesion.
A large pot can be constructed by coiling. Coiling was originally used by Japanese potters for large wheel thrown pots. The coiled shape would be placed on a potter’s wheel and turned holding a wet cloth in each hand. The smoothed, even walls will totally disguise the fact the shape was not entirely wheel thrown.
Slabs:
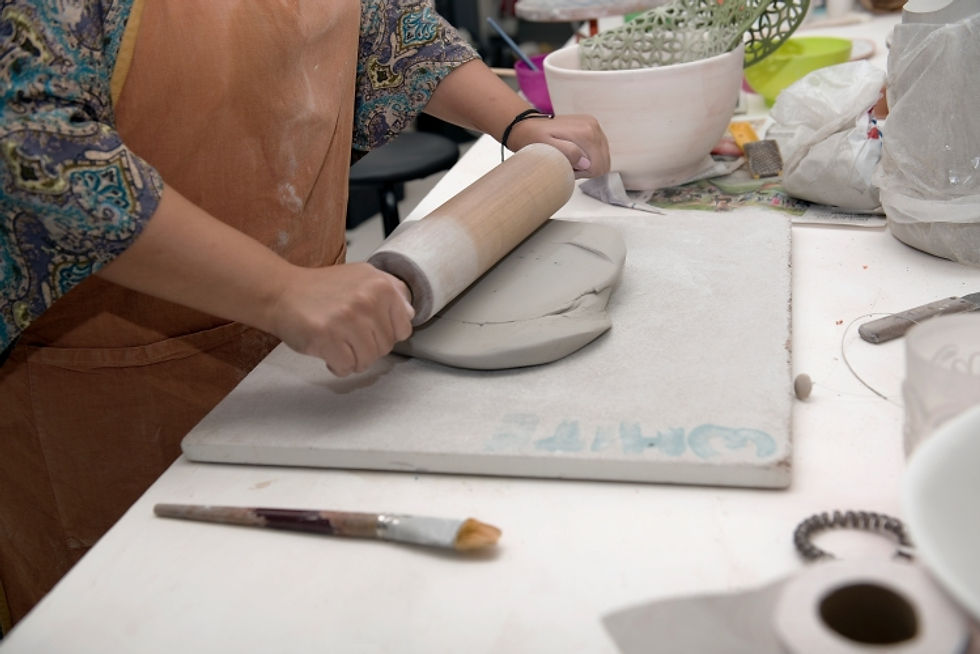
Slabs are ideal for making tiles. The slab can be rolled out or thrown, either way, the process should be in a criss-cross movement. This will prevent the clay particles coming to rest all in one direction, causing the slab to curl in the directional pull of the lined-up particles.
Slabs can also be made by slice cutting. Place two planks on the sides of a lump of clay. The lump of clay must have the outer dimension needed of the intended tile, and the planks the thickness of the intended tile. Hold a string of taut nylon gut from thumb to thumb, from left to right hand resting on the respective planks. Pull the taut nylon string, while resting the thumbs on the planks, through the lump of clay, slicing a tile. The two planks help to slice a slab of even thickness.
Slabs can be used to build geometrical shapes, and in combination with coil work and wheel work. Be sure to score and brush slip before joining slabs together.


Comments